Adding your first product
Your store is live. The next thing to do is replace the sample products with your own. This guide walks through adding a single product manually, then covers variants and bulk uploads.
What you actually need
Section titled “What you actually need”The minimum to create a real product on OrderLyne:
- A title — what customers see at the top of the product page
- A price — in INR
- One image
That’s it. Description, SKU, inventory count, weight, HSN code, tags — all optional, all editable later. You can have a product live and orderable in under two minutes if you have a photo and a price ready.
Adding a product
Section titled “Adding a product”From the dashboard, click Products in the sidebar, then Add product in the top right.
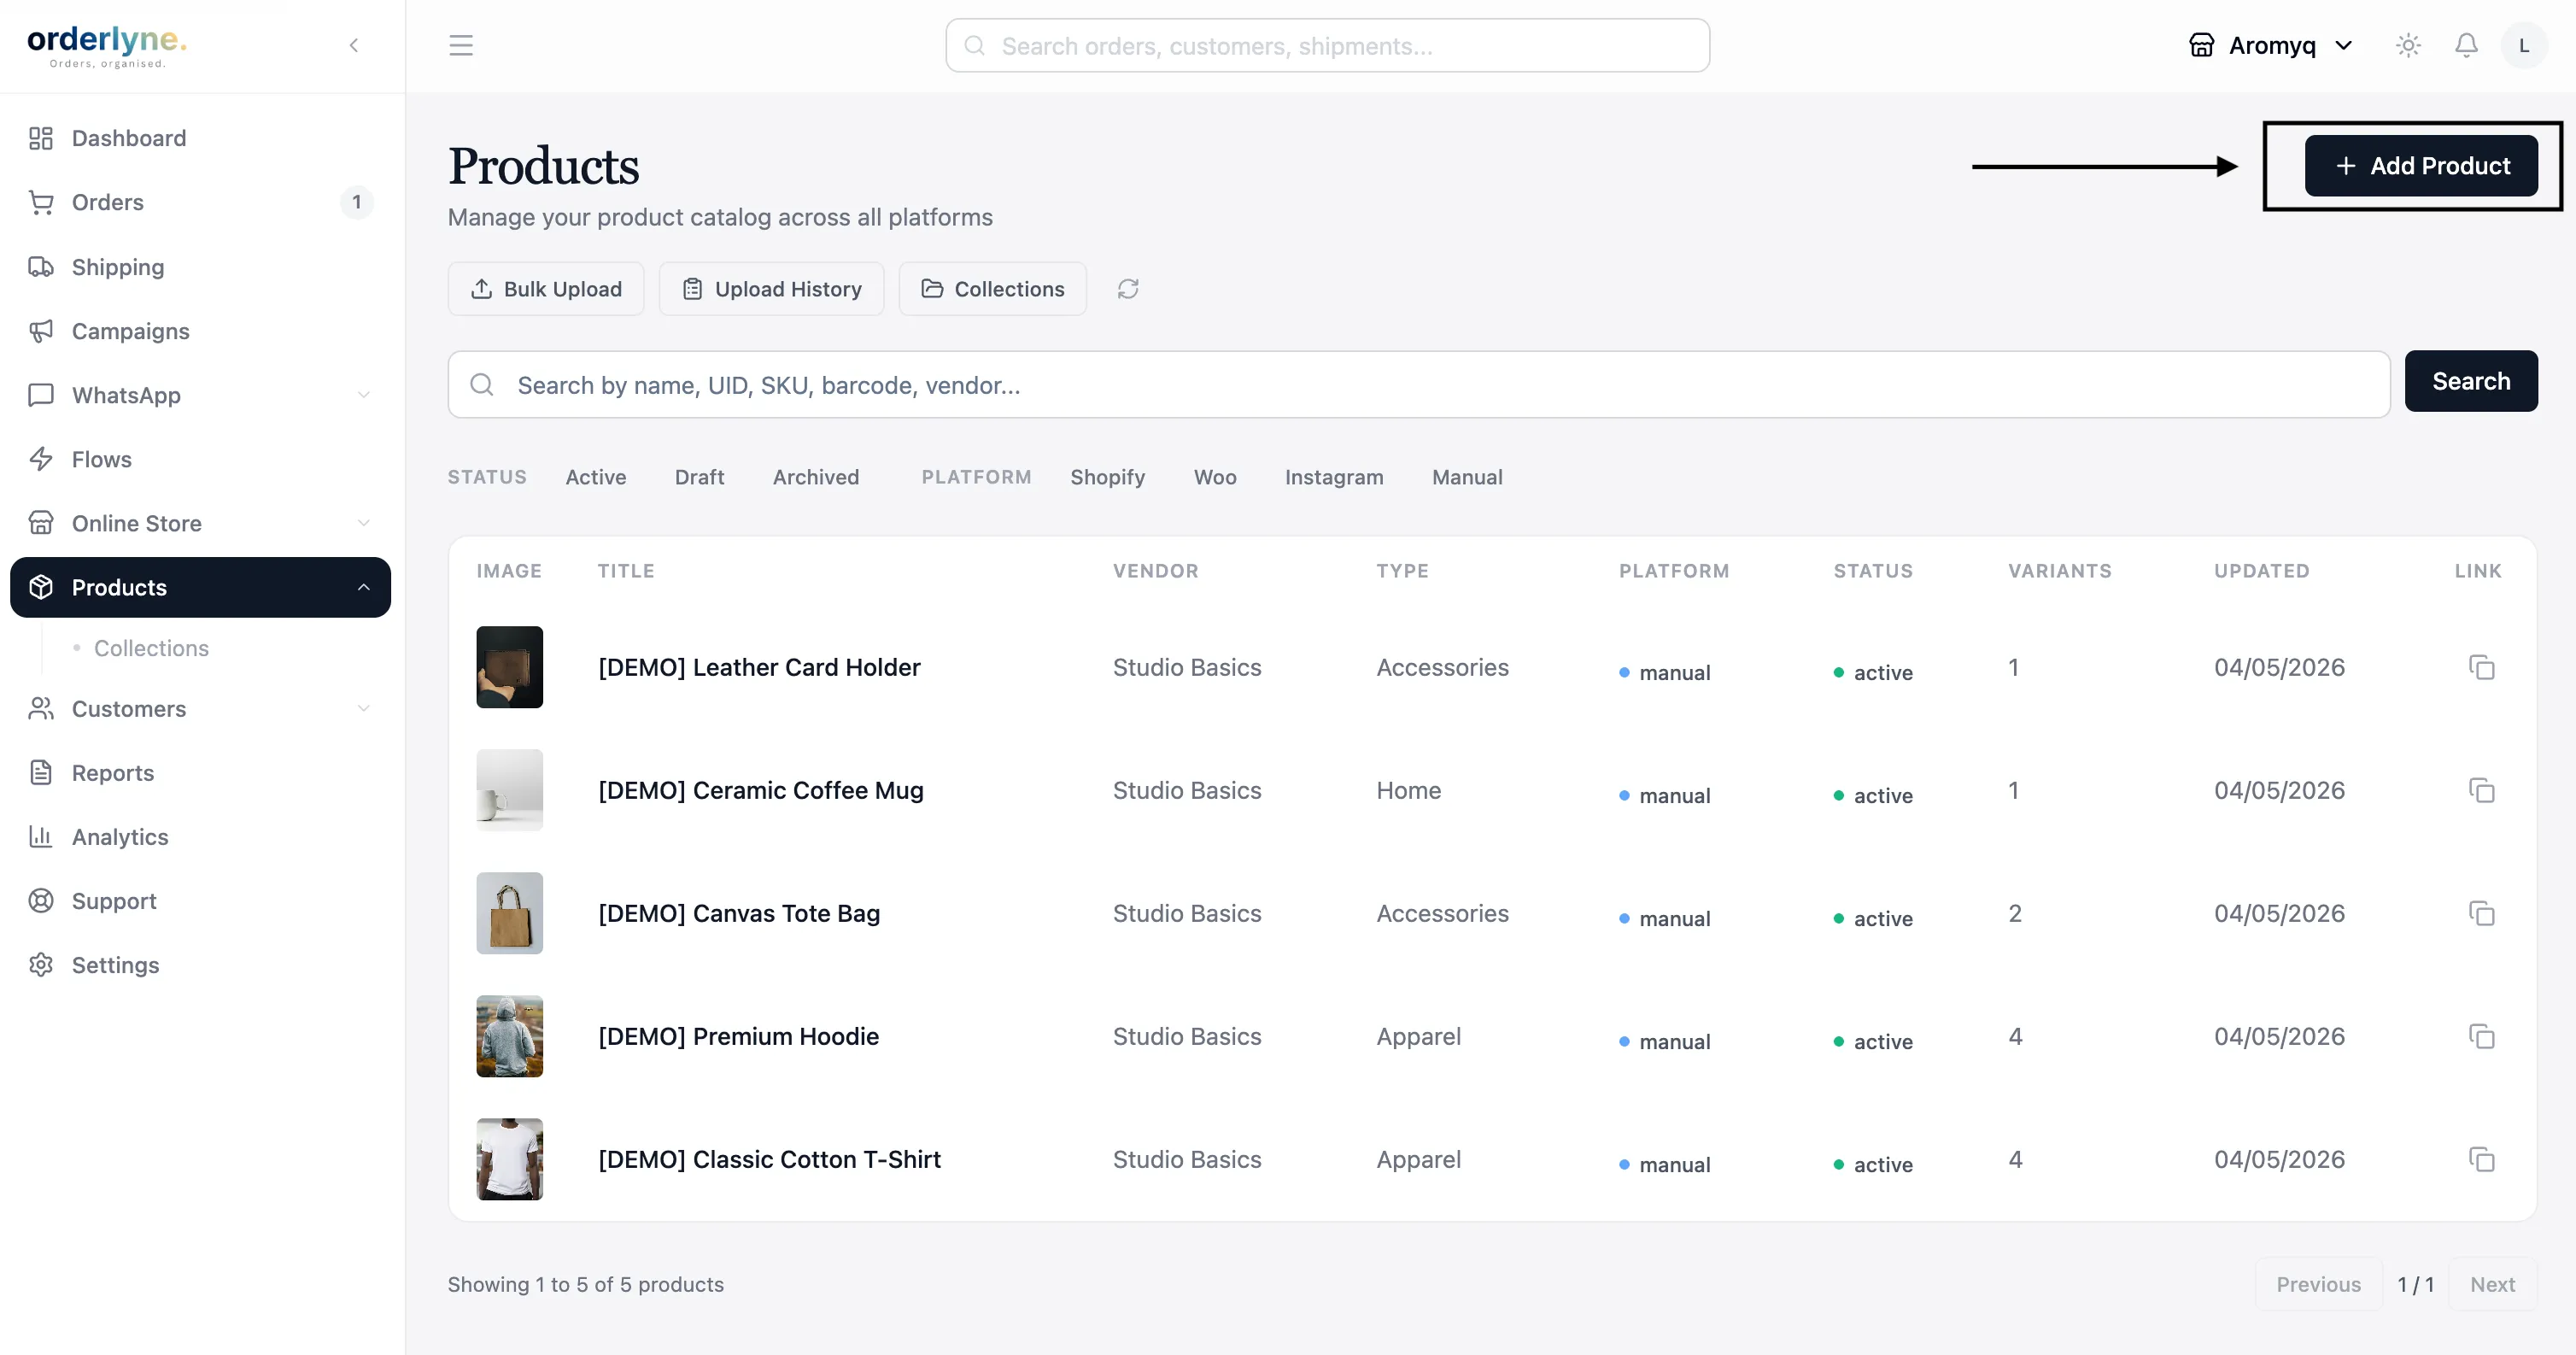
You’ll see a form with several sections. Only the first three fields are required to save the product.
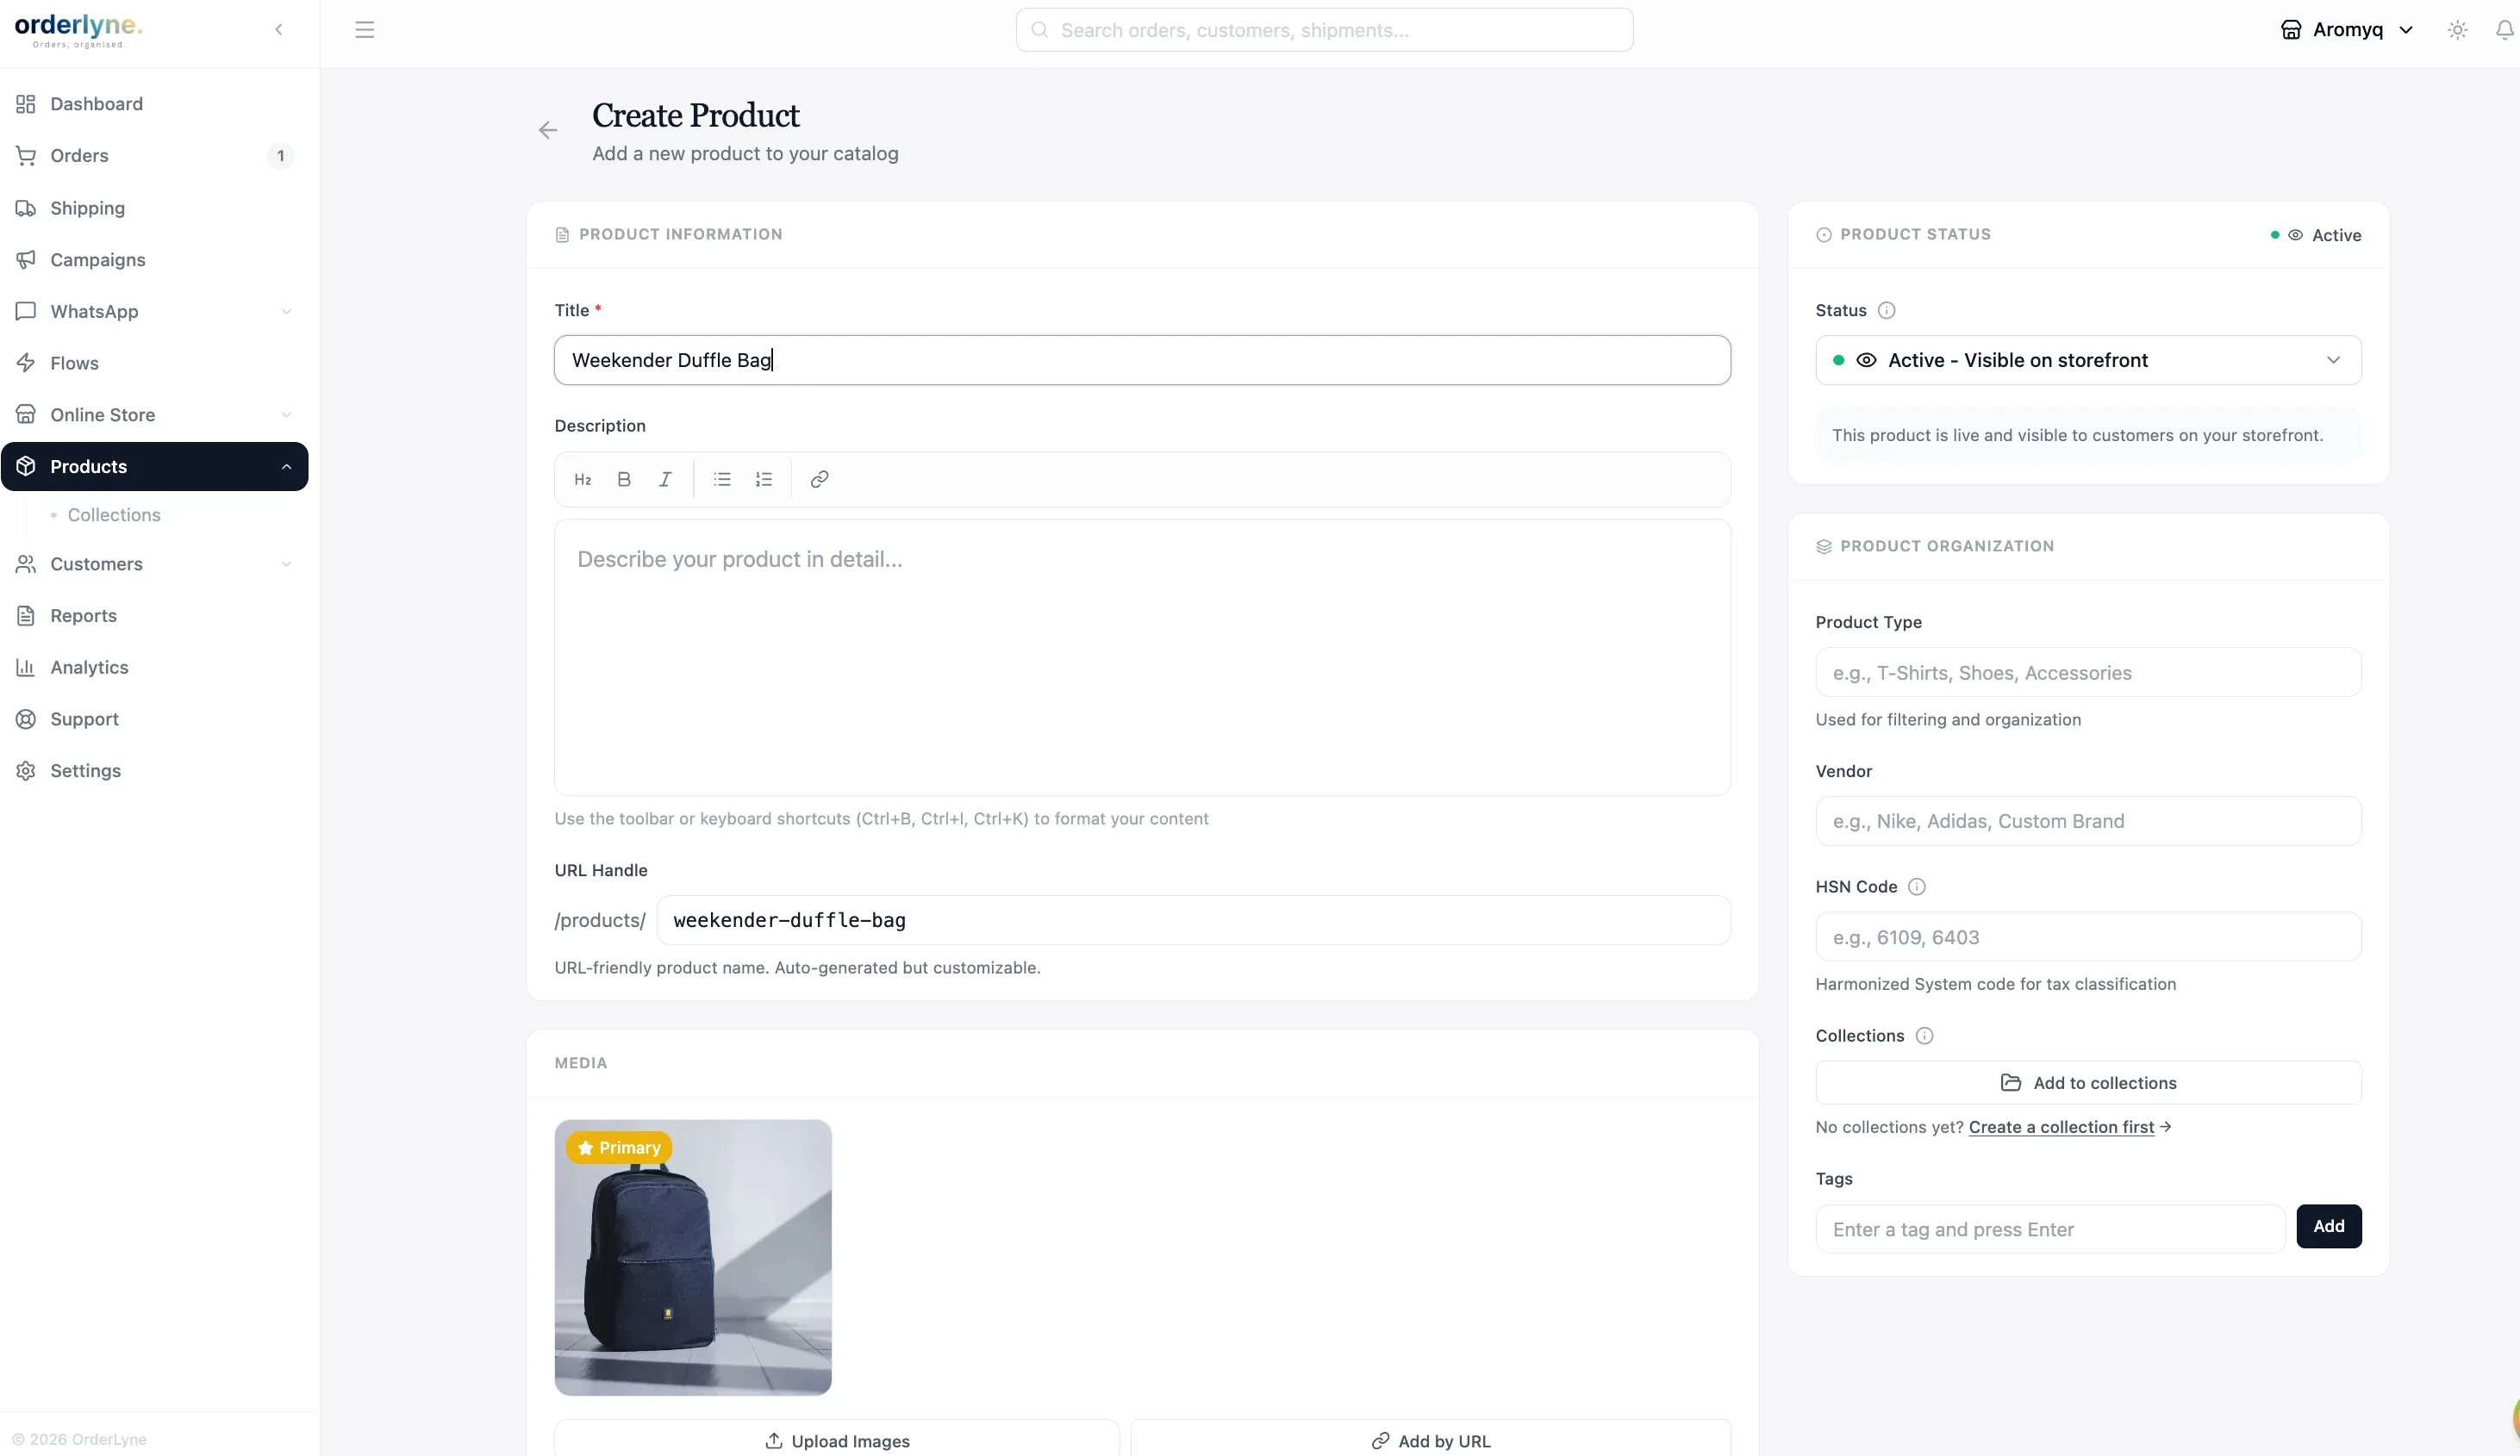
Required fields
Section titled “Required fields”- Title — the product name. Keep it short and clear; this is what shows up in collections, search results, and the cart. Examples: “Cold-Pressed Almond Oil 250ml” not “Cold Pressed High Quality Pure Premium Almond Oil 100% Natural Best Quality.”
- Price — your selling price in INR. If you offer discounts, set a higher “compare-at price” too — customers will see the strikethrough.
- Image — at least one. Drag-drop or click to upload. JPG and PNG both work; aim for square 1000×1000px for the best look across themes. You can add up to 8 more images per product later.
Optional fields worth filling
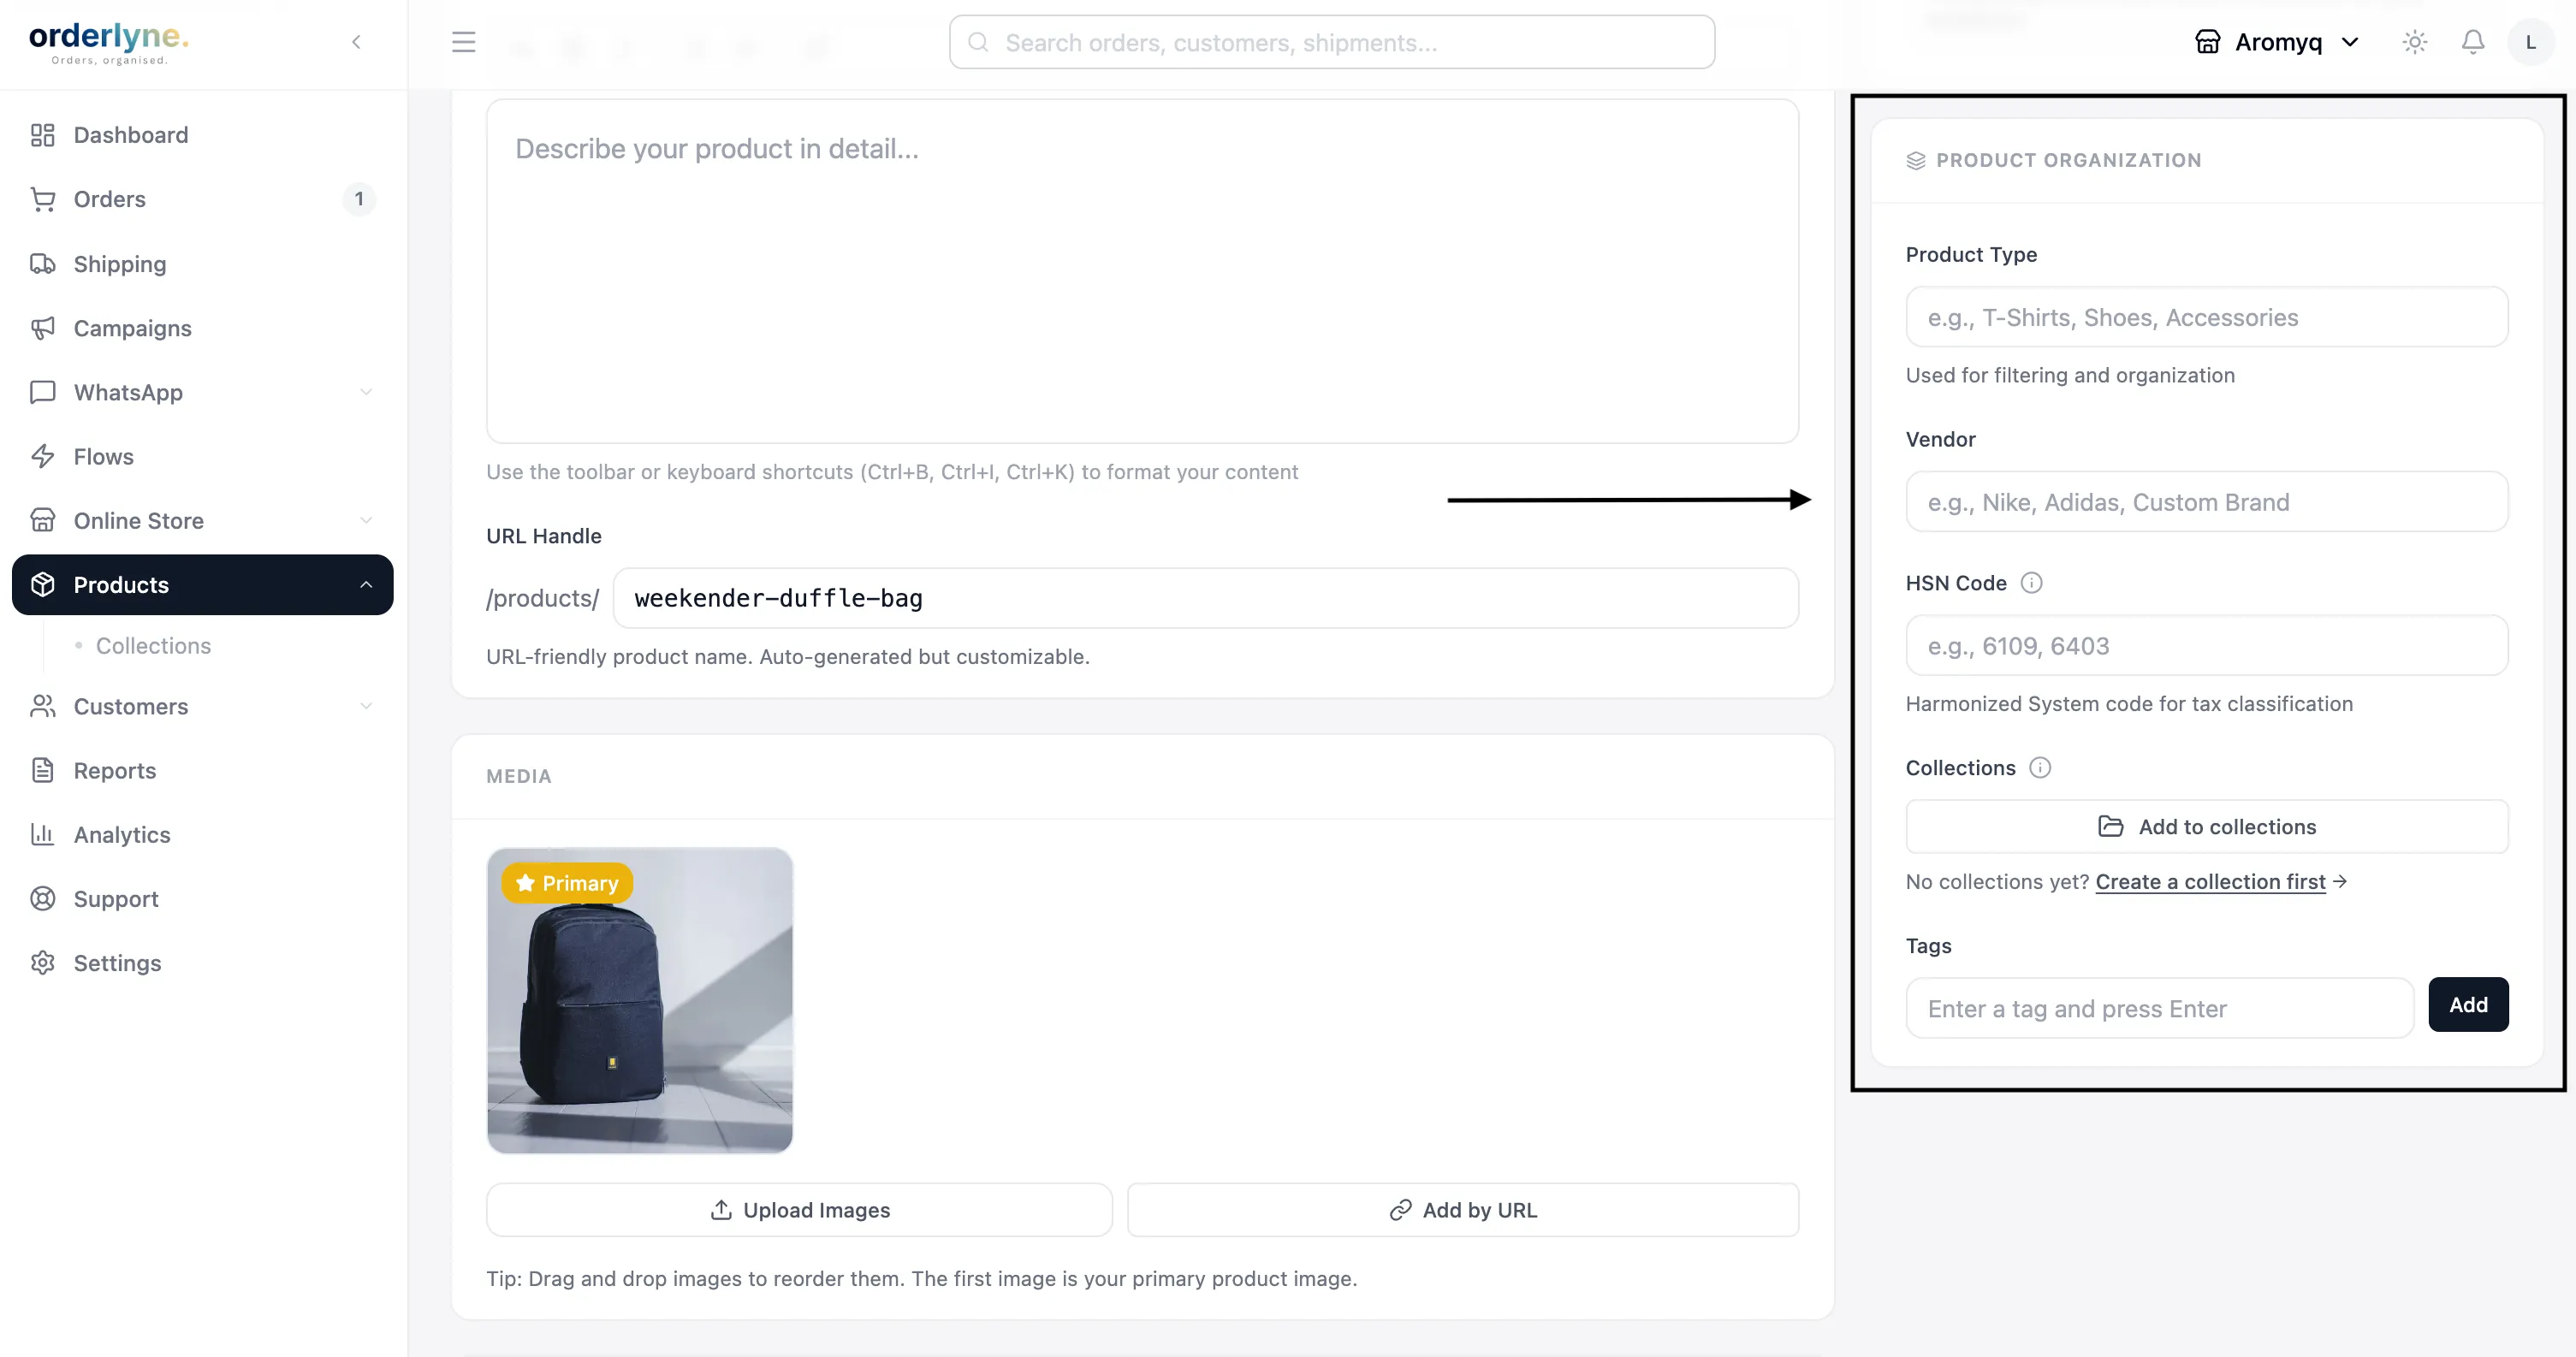
Section titled “Optional fields worth filling”The other fields are optional, but a few are worth setting upfront because they affect how customers experience the product:
- Description — a short paragraph or two about the product. This shows up on the product detail page below the image. Useful for ingredients, materials, dimensions, what makes the product special.
- SKU — your internal identifier for the product. Helps when you’re tracking inventory across spreadsheets, your warehouse, or a separate accounting tool. Skip it if you don’t already have an SKU system.
- Inventory — how many units you have. If you set this, OrderLyne tracks stock automatically — orders reduce inventory, and the product shows “out of stock” once it hits zero. Leave blank if you don’t want inventory tracking.
- HSN code — required for GST-compliant invoicing. If you’re GST-registered, set this for each product so OrderLyne can generate proper invoices and GSTR-1 reports. If you’re not registered, you can leave this blank.
- Weight — used by couriers to calculate shipping rates. Set this if you want accurate rate comparison across Delhivery, DTDC, and others.
- Tags — your own labels for organizing products. Useful for filtering in the dashboard or grouping for marketing campaigns. Customers don’t see tags.
Click Save, and your product is live. You can immediately visit your storefront to see it.
Adding variants
Section titled “Adding variants”If your product comes in different sizes, colors, or other variations, use variants instead of creating a separate product for each one.
A variant gives you:
- A separate price per variant (Small ₹500, Medium ₹600, Large ₹700)
- Separate inventory per variant
- A separate SKU per variant
- One product page that lets the customer pick
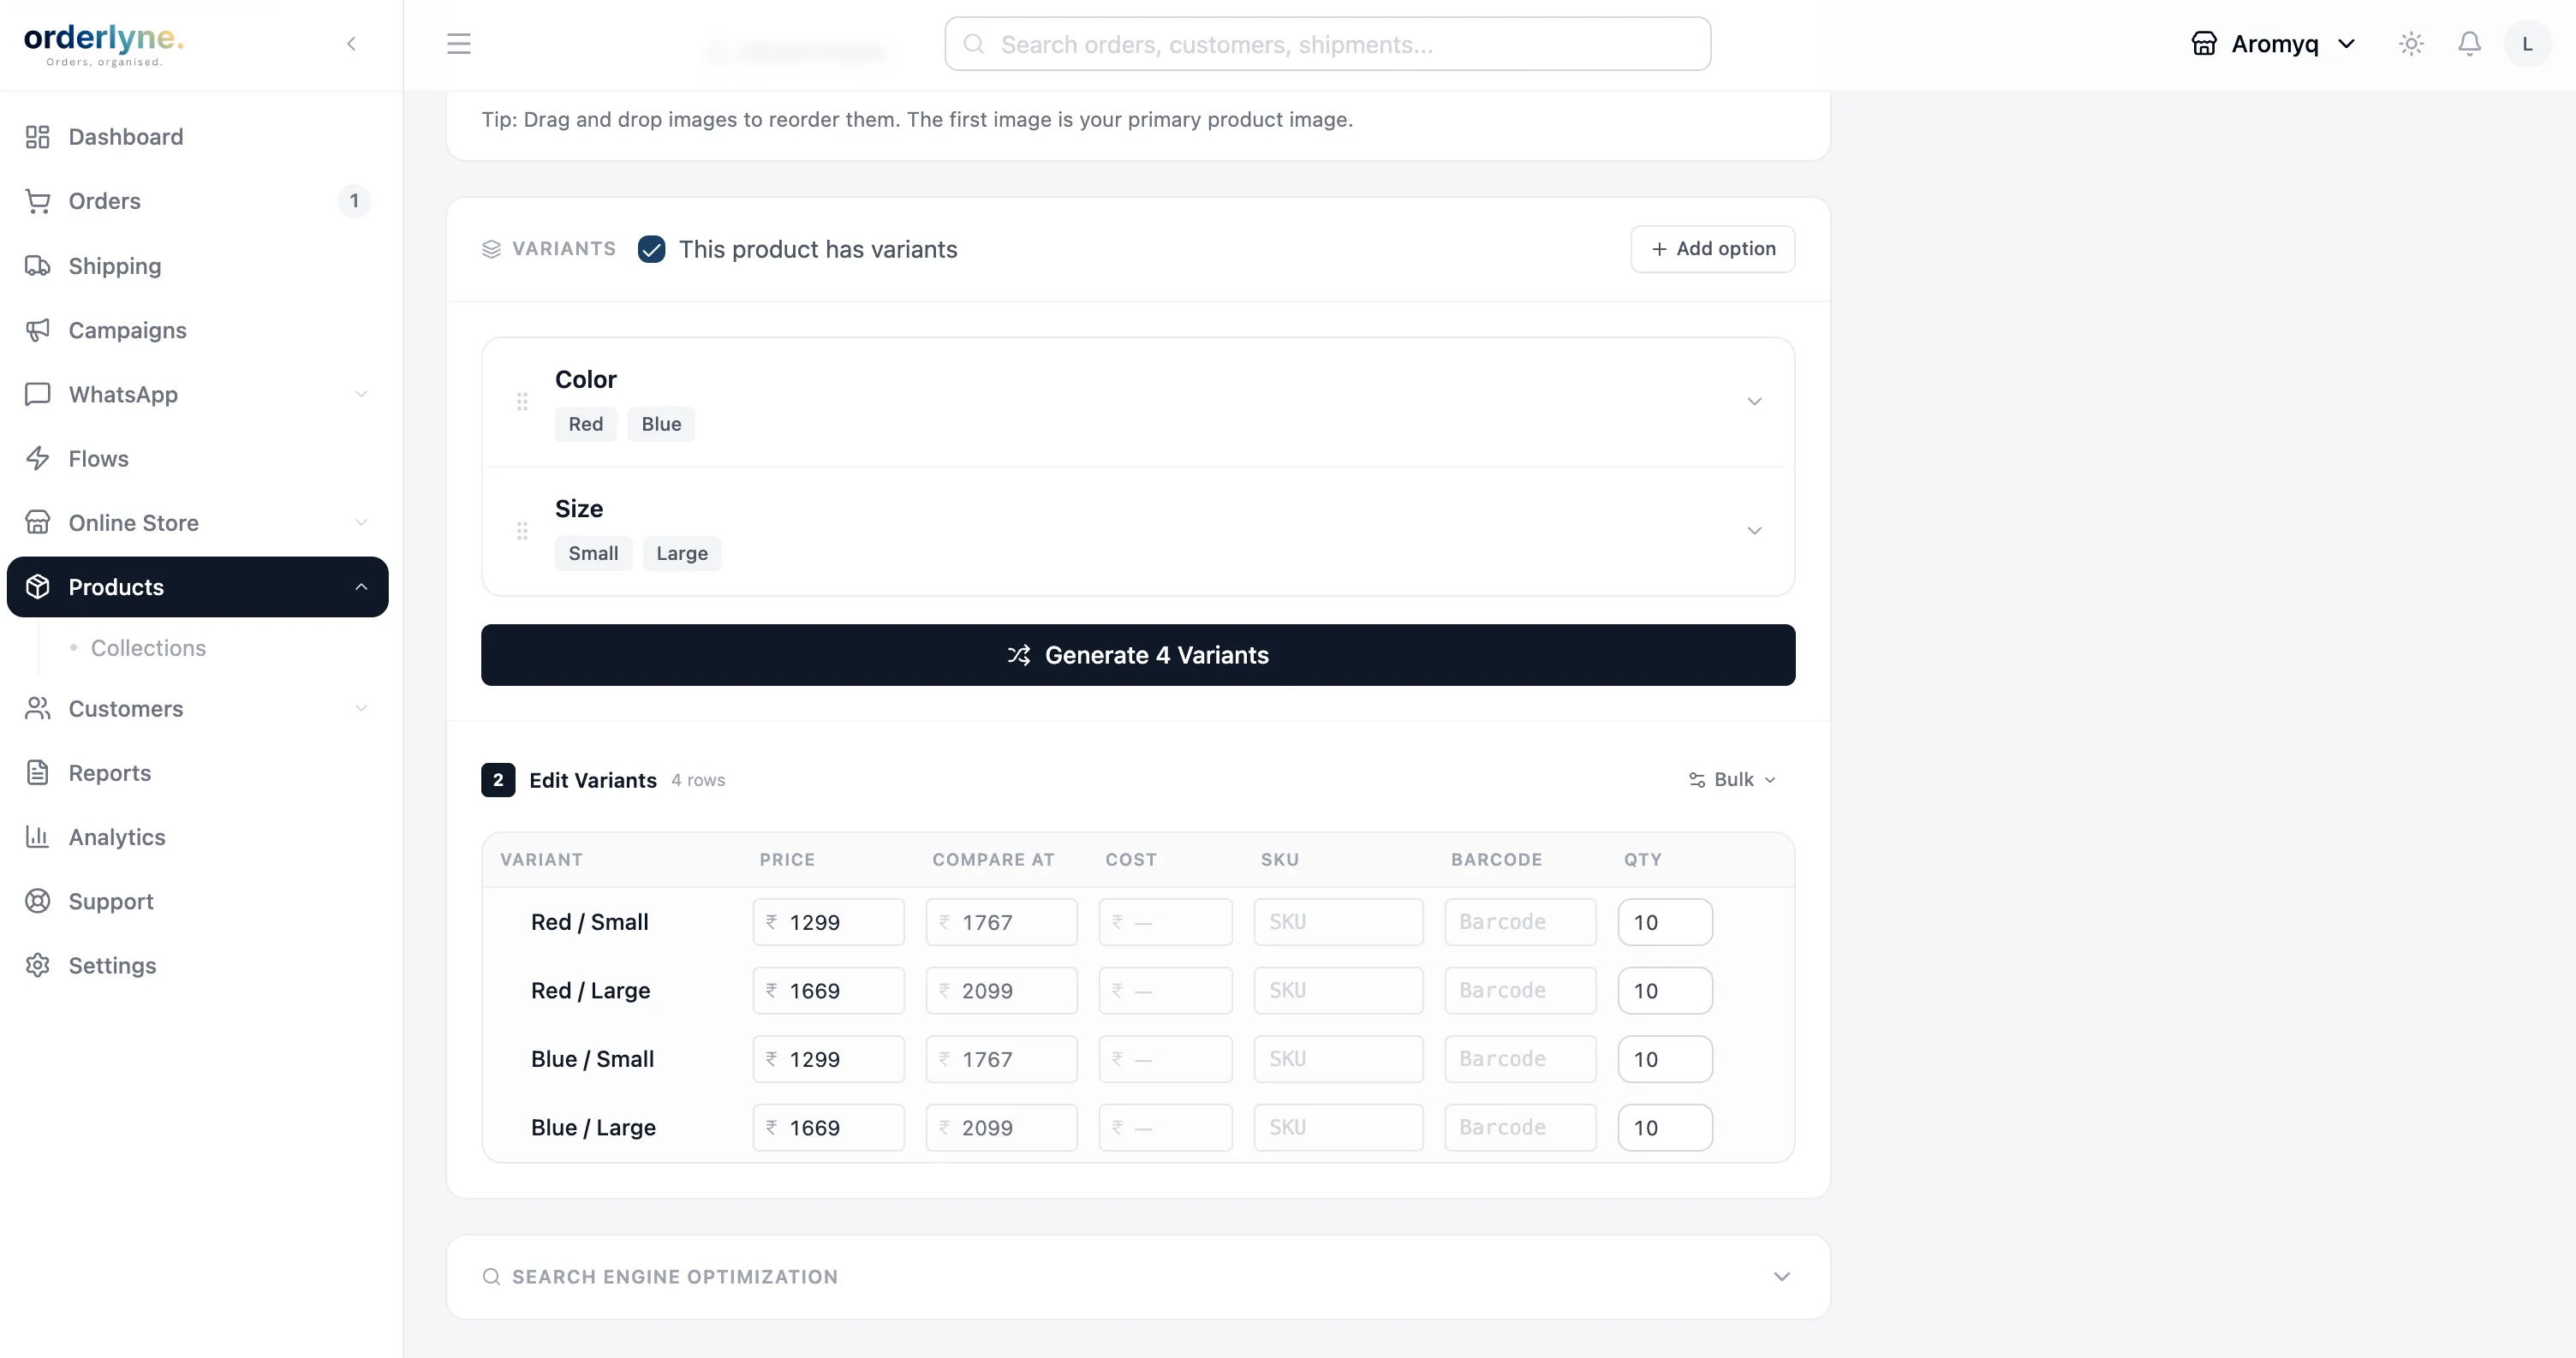
In the product form, scroll to the Variants section and click Add option. Common patterns:
- Apparel: option name “Size”, values “S, M, L, XL”
- Skincare / candles: option name “Volume”, values “100ml, 200ml, 500ml”
- Jewellery: option name “Finish”, values “Silver, Gold-plated”
- Bakery hampers: option name “Size”, values “Small, Medium, Large”
You can add up to three options per product (size + color + material, for example). OrderLyne generates one variant for each combination — so size with 3 values × color with 2 values gives you 6 variants. Each gets its own price and inventory.
A small note: if you find yourself creating a separate product for “Red T-Shirt” and “Blue T-Shirt,” you almost certainly want variants instead. One product, two color values. Customers get a real product page with a color picker; you get cleaner inventory and analytics.
Adding products in bulk
Section titled “Adding products in bulk”If you’re starting from a Shopify export, an existing spreadsheet, or just have 50+ products to add, manual entry will take hours. Use the bulk CSV upload instead.
From the Products page, click Bulk Upload in the top left. Download the OrderLyne CSV template — it has the right columns and a sample row. Fill in your products, save as CSV, and upload.
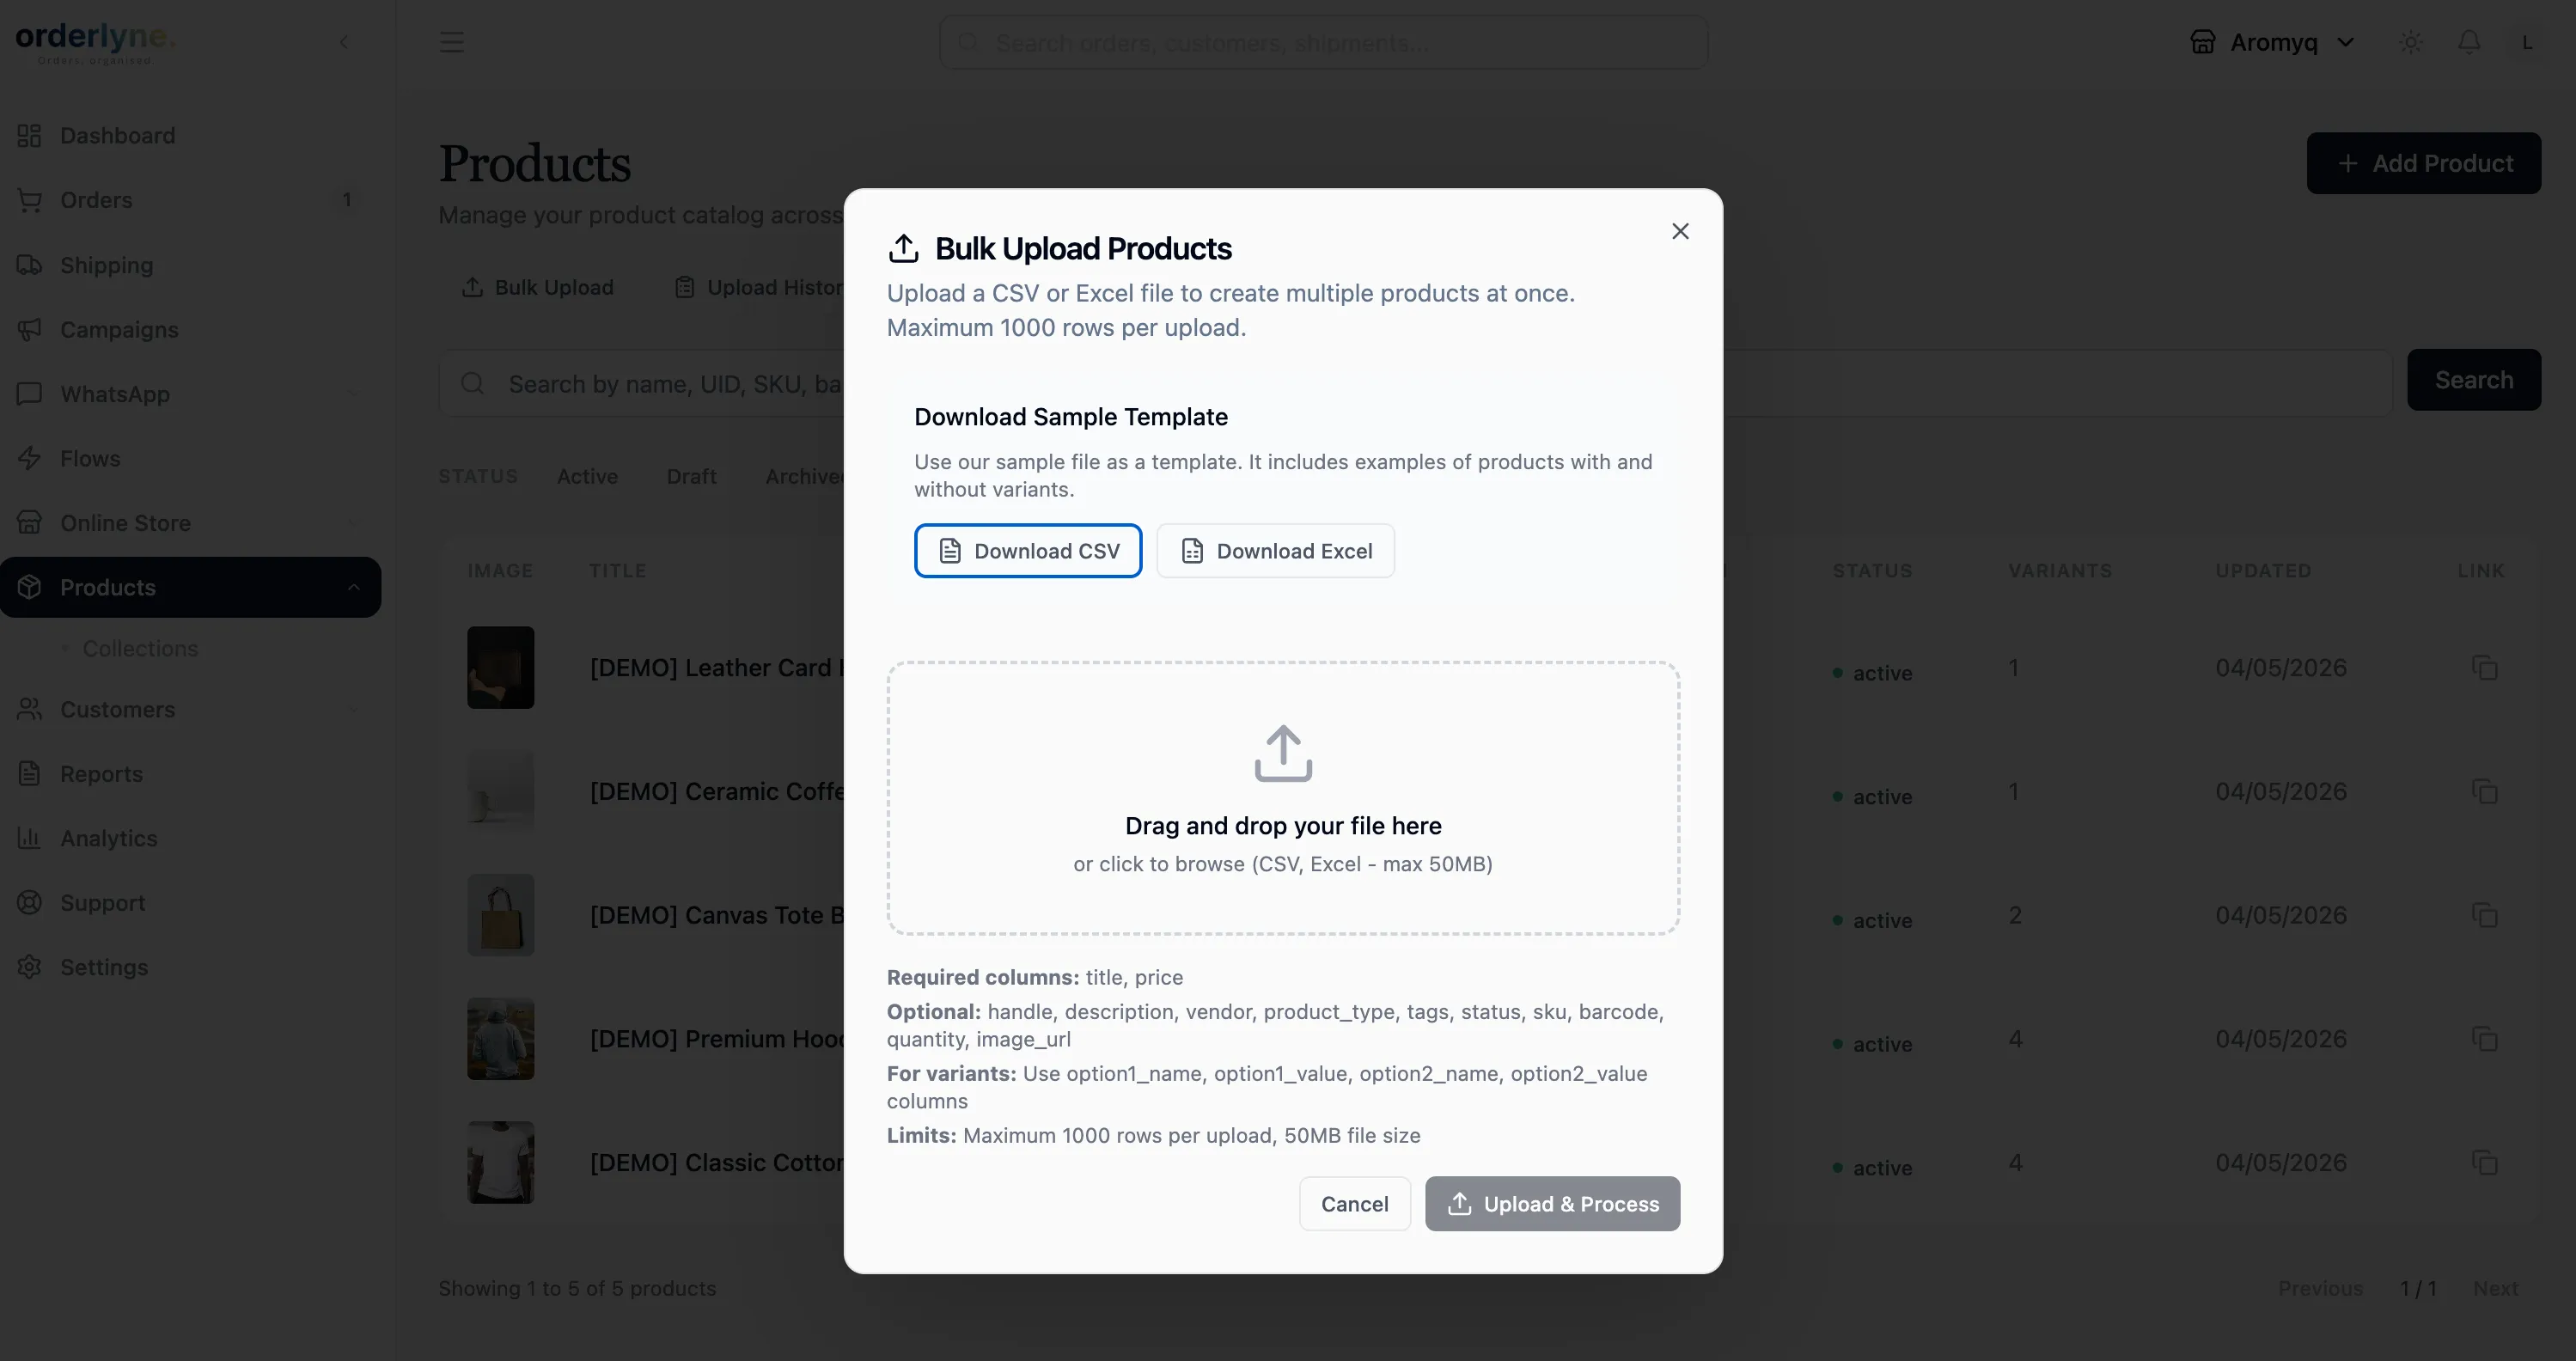
The template covers:
- Title, description, SKU, price, compare-at price
- Inventory, weight, HSN code
- Variants (option names and values)
- Image URLs (one per row, multiple URLs comma-separated for multiple images per product)
- Tags and vendor
After upload, OrderLyne shows a preview of what will be imported. Review it, fix any rows flagged with errors, and confirm. Imports of a few hundred products usually finish in under a minute.
A practical tip: if you’re moving from Shopify, export your products to CSV first, then map the columns to OrderLyne’s template. The two formats aren’t identical, but most fields line up cleanly.
What’s in your store now
Section titled “What’s in your store now”If you started with the sample data OrderLyne seeded for you (5 products, 3 collections), those are still there alongside any products you’ve added. You can:
- Keep the demo products while you’re getting comfortable — they don’t affect anything
- Delete them in bulk by selecting them on the Products page and clicking Delete
- Edit them into your own products by changing the title, price, and image — the fastest way to get five real products live if you’re starting from scratch
What’s next
Section titled “What’s next”Now that you have at least one real product, the next things to do:
- Customize your storefront — pick a theme that matches your brand, upload your logo, set your colors
- Group your products into collections — collections are how customers browse your store. From the dashboard, go to Products → Collections.
- Connect WhatsApp Business — turn on order confirmations so customers get a message the moment they place an order
- Share your store on Instagram — once you have a few products and a polished storefront, the URL is ready for your bio
If a product isn’t showing up on your storefront, the most common cause is that it’s saved as Draft rather than Active. Open the product, change the status, and save again. If you’re still stuck, reach out at hello@orderlyne.app.